
HomePod: Prevent Accidental Touches, Keep Your Voice
 Anthony5 min read
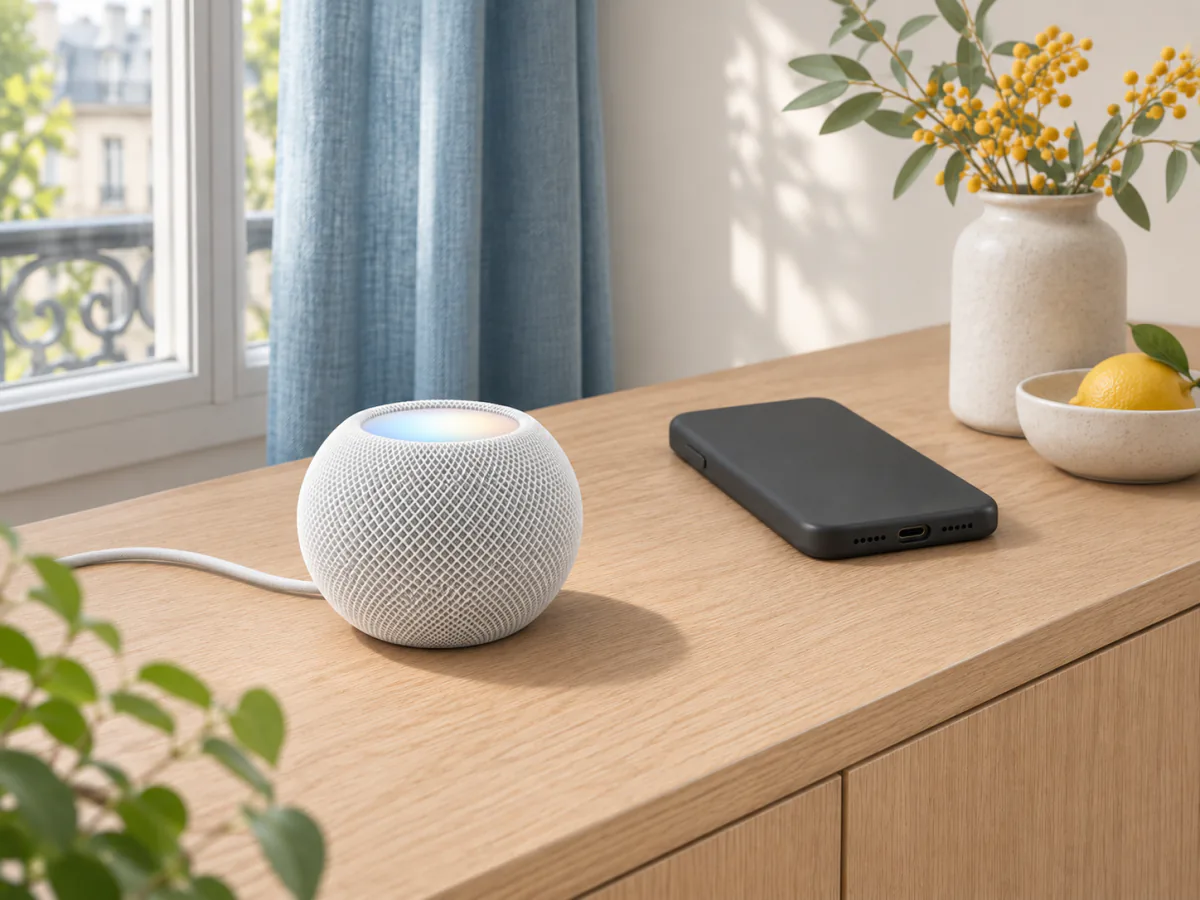
With software update 27.2, Apple has added the “Lock Controls” setting to the HomePod. It prevents accidental touches from pausing the music, skipping to the next song, or changing the volume, while still allowing voice control. If the top of your speaker is frequently touched by accident, start by enabling this toggle in the Home app.
Enable Lock in Home
This setting is located in the speaker’s settings. In its French HomePod guide, Apple provides the following steps:
- Open the Home app on your iPhone or iPad.
- Tap the HomePod in question.
- Tap the Settings button.
- Turn on “Lock Controls.”
To restore touch controls, follow the same steps and turn off this toggle. Restoring touch controls is done in Home. So keep this option available if multiple people switch between voice commands and gestures on the speaker.
Apple specifically describes three intended effects: preventing accidental pauses, skipping to the next track, and changing the volume. This is a good starting point if you want to disable touch controls on the top of the speaker. You choose to control the speaker in a different way, rather than changing how it interprets each touch.
Apple’s documentation explicitly retains voice control. Before leaving the lock enabled, make sure this method of controlling the HomePod suits the people who use it. A setting tailored for someone who talks to Siri may be less convenient for someone who usually adjusts the volume manually.
Choosing Between Locking and Adjusting Touch Sensitivity
The HomePod also offers accessibility settings to adjust how it responds to gestures. These are particularly useful for people with hand tremors or motor difficulties. If the goal is to continue using the top of the speaker, this approach is worth exploring before disabling touch controls.
Here are the actual options described in the Apple guide and the issue each one addresses:
| Need | Setting | Documented Effect | Recommended Choice |
|---|---|---|---|
| Avoid pauses, song changes, or volume changes caused by accidental touches | Lock Controls | Disables touch controls; voice control remains available | Best choice when you want to control the HomePod with your voice |
| Keep controls active by requiring a longer press | Press Duration | Sets the required press duration before a response | Consider this if you want to keep a touch control active intentionally |
| Group repeated taps | Ignore Repetition | Counts multiple taps as a single tap during the selected duration | Consider this when repeated taps interfere with use |
| Prevent Siri from being triggered by a long press | Press to Talk to Siri | Determines whether Siri responds when you hold your finger on the top | Choose this if this specific gesture causes you trouble |
The two intermediate options are found in Home: open the HomePod app, tap Settings, then Accessibility, and “Pressure Adjustment.” Enable this feature before adjusting “Press and Hold Duration” or “Ignore Repeat.” The Apple documentation on pressure adaptation also describes “Pressure Assistance,” which selects the location used when your taps are interpreted as swipes.
Locking disables touch input; adjusting pressure sensitivity allows you to keep it with a customized response. Start with this usage decision. If a person needs to touch the speaker to control it, adjust one setting at a time and check the result with them before finalizing a configuration.
Keep Siri usable without touching the speaker
To find “Tap to Talk to Siri,” select the HomePod in Home, tap the Settings button, then scroll down to the Siri settings. This toggle controls the response to a long press. The choice of voice activation phrase is found under “Detect” in the same section of the settings: the French guide mentions “Siri” and “Dis Siri.”
If you disable only the long press, your goal is to remove this method of activating the assistant. For accidental pauses and volume changes, revert to the general lock described above. Choosing the correct toggle prevents you from thinking the problem is solved when you’ve actually changed a different setting.
After enabling the lock, try a typical voice command and verify that you can return to the setting in Home. This is a test you should perform at home: the level of convenience depends on the people using the speaker and how they control it. Apple’s documentation confirms that voice functionality remains intact; for this guide, no hands-on testing was conducted.
Personal requests, such as reading messages or checking a calendar, have their own profile settings. Touch Lock prevents accidental touches. To control who can access personal content, use the corresponding Home and Profile settings.
If the toggle is missing, check the HomePod version
The guide describing “Lock Controls” applies to HomePod software version 27.2 or later. You’ll need to check the speaker’s version: in the Home app, tap the HomePod, open Settings, then scroll down to the device information. Apple displays the model and software version there.
To check for an update, use the More button in Home, then select “Home Settings” and “Software Update.” If an update is available, tap “Update.” Apple restricts manual installation to the home owner or an administrator: use this access to perform the update.
By default, the HomePod automatically installs updates when it’s connected to Wi-Fi and idle. A rotating white light appears during installation. The official update procedure specifies that data and settings are preserved when upgrading to the latest version.
On a HomePod that’s already up to date, go through the speaker’s settings again. If the toggle is still missing, note the model and version before looking for an explanation specific to that device. The other new features in version 27.2 have their own compatibility requirements: their model lists alone do not indicate compatibility with Touch Lock.
If you want to control your HomePod with your voice and avoid accidental touches on the top, turn on “Lock Controls.” If someone in your household still needs to use the touch controls, start by adjusting the pressure sensitivity. The right setting is one that lets everyone control the music and regain control of it.